Graphic design is a worthy craft that’ll always be in demand. In turn, it is a meticulous profession, so if you have the ambition and talent of a designer, we applaud you! Like any type of project, the graphic design process should have a clear structure, concept, and direction. Whether your intention as a graphic […]

How to Get the Best Printing Deals with GotPrint
You’re here because you’re looking for affordable prints. Frankly put, the printing industry is competitive with pricing. We take pride in offering competitively low prices for our highest-quality print products, but we also still want to help consumers get the most bang for their buck. Let’s look at what factors you should consider when searching […]
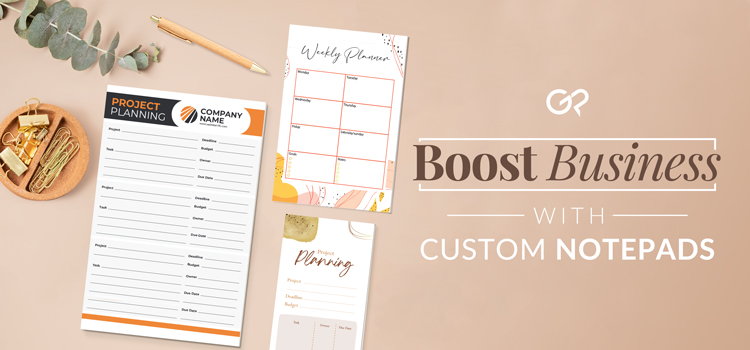
Using Custom Notepads to Grow Your Business
Custom printed notepads are beneficial for businesses of all sizes and types – from large corporations to self-employed graphic designers and creatives. Not only are they helpful for productivity and staying on top of tasks, but they’re also an underrated outreach marketing tool. Both small notepads or larger, more popular size notepads 8.5 x 11 or […]
GotPrint’s Free Sample Kit – Maximize Your Marketing
Custom printing involves much more thought than for a regular at-home printing job. After all, you have more options to work with, from products to paper and finish options. The process of ordering custom prints also has the potential to quickly become overwhelming. We’re here to help alleviate the struggle and remove the guesswork of […]

Effective Ways to Use Yard Signs for Marketing
Beyond their popularity in the real estate and political industries, yard signs are a highly underrated marketing tool that can be beneficial for multiple different advertising projects. Let’s take a look at the reasons why you should make a custom outdoor sign for your next marketing campaign. Why Advertise with Yard Signs? Cost-effective outdoor signs […]
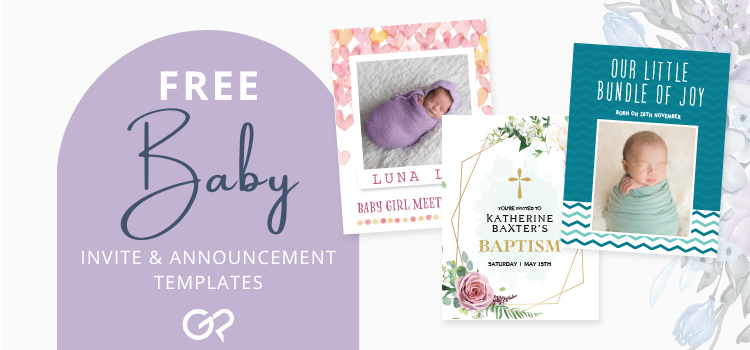
25 Free, Printable Card Templates for Baby Invites & Announcements
There are many ways to celebrate pregnancies and the birth of a new life. We’re here to help you celebrate all things babies! From pregnancies, all the way to their first birthday and baptism, you can find free printable cute baby announcements and baby invitation cards on GotPrint.com. Create invitations to celebrate with a baby […]

8 High-Quality Cheap Prints When Marketing on a Budget
Gone are the days when the word “cheap” exclusively alluded to bad quality. The word has been reinvented and revolutionized, with discount supermarkets like Grocery Outlet providing organic produce at low prices, or retail stores like TJ Maxx or HomeGoods that have hidden gems of high-quality products for ridiculously low prices. But what about when it comes […]
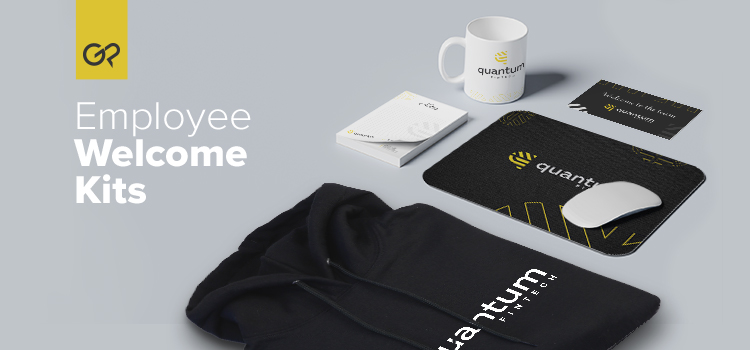
How to Create Welcome Kits for New Employees
A branded welcome kit or a company swag bag is a handy marketing tool that every company should consider as an investment. We’ve seen company kits used as giveaway items at tradeshows, for new employee onboarding packs, as themed gift bags for special events, or as a gift of gratitude or reward for valued customers […]

Custom Print Products for Your In-Store or Online Business
Running or managing a business, whether it’s a brick-and-mortar store or an e-commerce shop, entails structure, strategy, and being open to different methods of creativity. The differences between in store marketing and online marketing are not that far off, with both using physical and online methods to promote their business. For either business type, you […]
How To Make a Professional Letterhead with Free Templates
Every business or working professional, no matter how big or small, should be aware of the importance of having personalized letterheads for all correspondence. It’s easy to neglect or overlook, but truth be told, creating custom letterheads is even easier. What is a letterhead? A letterhead is a piece of stationery that has a printed […]