Business cards are one of the most important & timeless marketing tools you could possess in your arsenal. You don’t have to be a professional designer to make your own business card. In fact, you don’t even need to have any design experience.
When it comes to designing a card yourself, especially if you don’t have design experience, the best route to take is to choose a printing business that has the features you need to design your own custom business cards. This includes features like a gallery of customizable business card design templates, and/or a design platform built directly onto its website.
If you’re new to GotPrint.com, or have never used our Online Designer tool, this post was written just for you. While we always state that our designer is easy to use, we want to make sure that you have all the steps laid out to make this the easiest process possible. Here’s a step-by-step tutorial to design & order your own business cards in minutes, using any one of our design templates, directly on GotPrint.com.
Step 1: Browse Our Vast Gallery
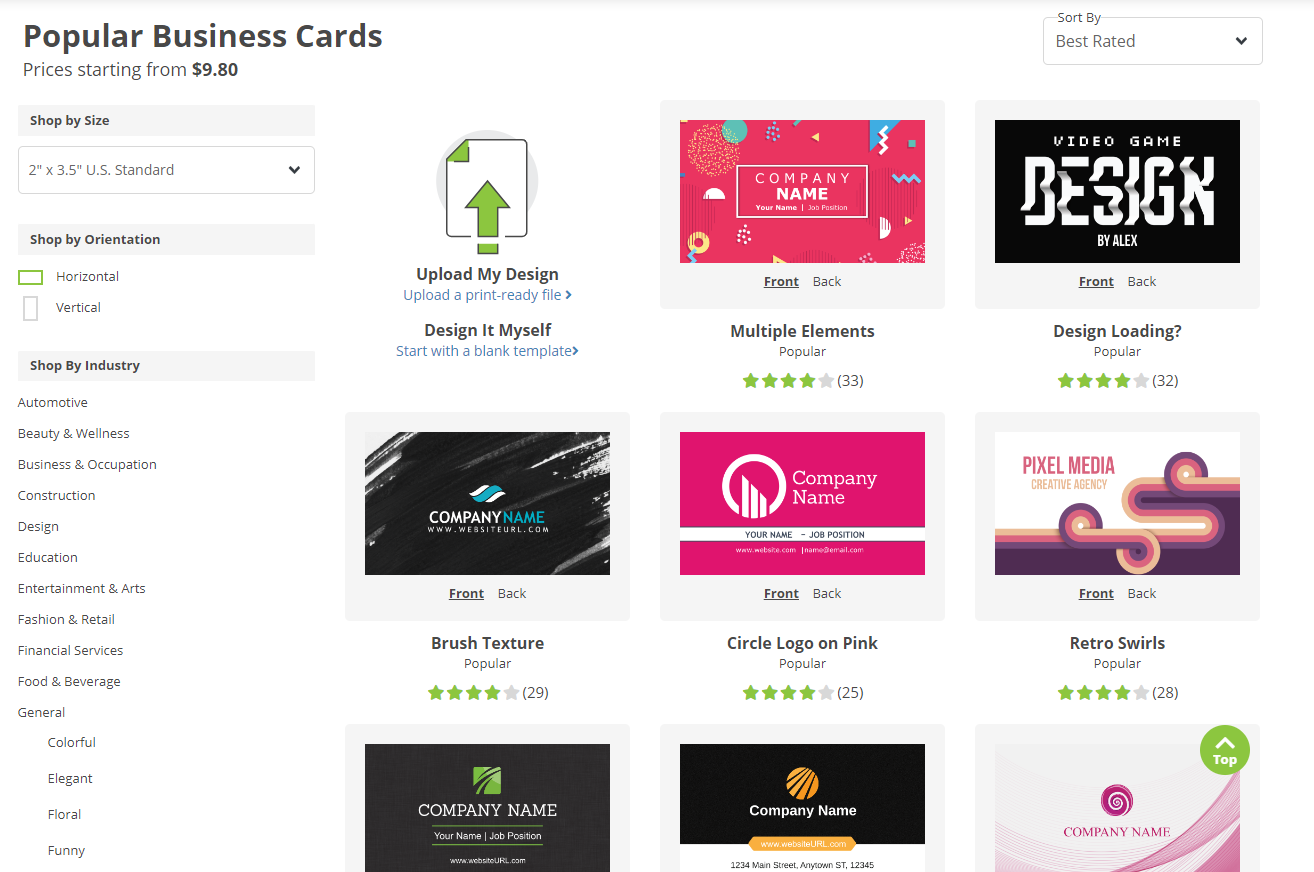
Access our template gallery here.
In our gallery, you’ll find that there is something for every profession, every scenario, every person. There are a variety of different templates created for those in real estate, construction, corporate businesses, education, politics, financial services, entertainment and arts, automotive, retail, public works, and so much more.
We also have templates that are not necessarily tied to a specific industry but can be utilized by any professional. These can be found in the General category and include subcategories such as popular, general, & minimalist design styles, to list a few.
Step 2: Choose a Template
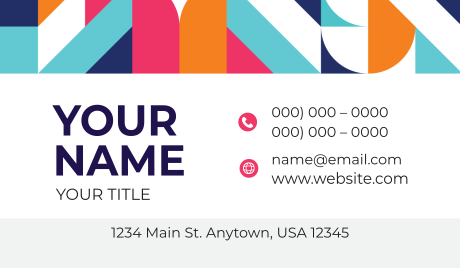
For the purpose of this tutorial, I’m going to select two templates within our general categories to show you what sort of edits you can make.
The first – “Modern Design 15”

The second – “Minimalist Design 11”


I picked the first one because I like it as is, and don’t want to change anything about the design. And while I do like the design of the second one as well, I would prefer to modify elements like color, font type, etc to really turn it into something that works for the information I’d like to include.
Step 3: Select Corner Specs Prior to Customization
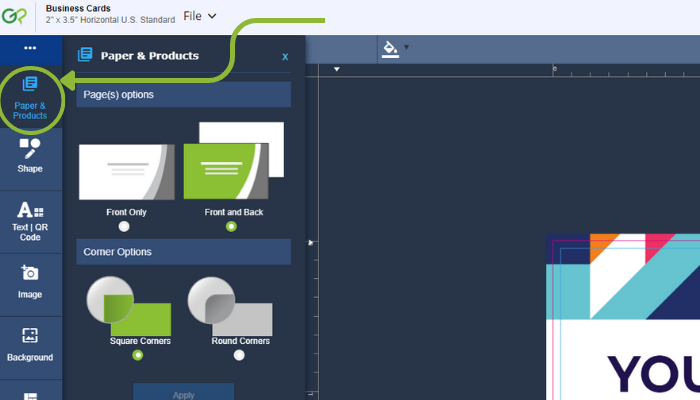
Once you have selected your template and hit customize, you’ll be taken to our Online Designer to proceed. Before updating anything, click on the ‘Paper & Products’ tab on the top left of the designer to select which side of the card you want to design, as well as whether you want square or rounded corners. It’s important that you do this prior to anything else, especially selecting the corner type, because the template will change based on your selection.
Step 4a: Customize Your Selected Template (Text only)
Customizing can mean anything from simply updating the text to include your own details, like your name, contact info, website, and so on, or it can mean also modifying the template design to fit your vision.
Let’s take Modern Design 15 with the approach of the former route. As mentioned previously, I like the design as is, so all I need to do is simply edit the text boxes to input actual information.
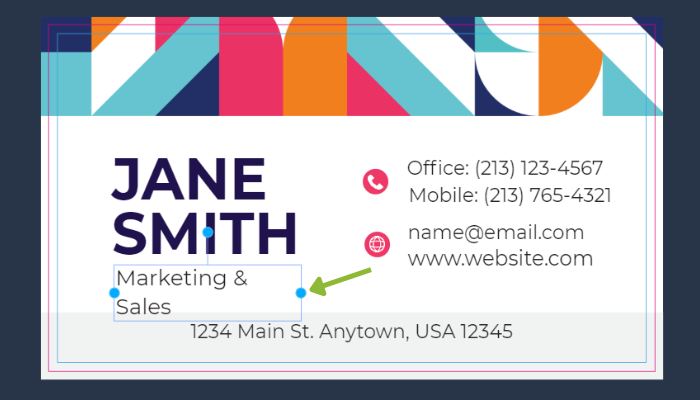
There are two ways you can edit the text boxes. 1) You can update the fields on the left side of the online designer screen, or 2) you can edit the text boxes directly on the design

Keep in mind that if your text is longer than the text box, it will move to a second line, but you can adjust that on the design by clicking and dragging the blue circle on the right of the text box. You can also move the text boxes around by clicking and dragging the box itself.
Step 4b: Customize Your Selected Template (Design)
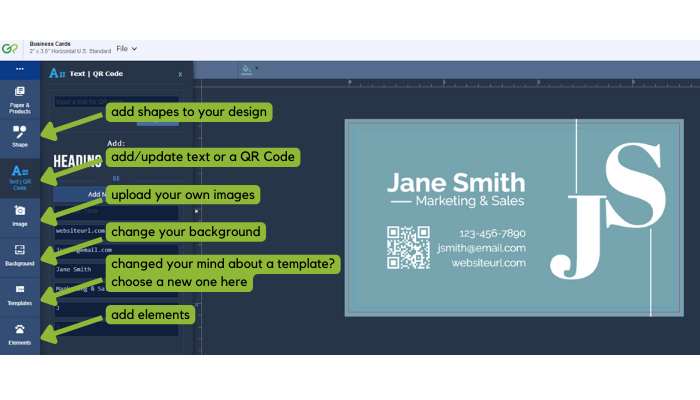
If you’d like to also modify the design of your selected template, there are many things you can do. You can change the background color/image, font size, and type using the bar on the top of the screen, remove or add elements using the ‘Shapes’ and ‘Elements’ tabs on the left, upload your own image or logo file, and more.

For the ‘Minimalist Design 11’ template, I’ve done the following:
- Changed the color scheme by updating the background/text color. To do this, click on the background of the template, and in the top left corner, hit the color icon, and select a color from the dropdown. You can also select “more” and type in a color code or drag your cursor over the colors to adjust accordingly.
- Adjusted the sizes of text. See the top bar to adjust size, type, and color of text when you click on a text box.
- Rearranged the order of the initials on the front side. Select and drag.
- Adjusted the line elements on the front, added/removed elements on the back. Select desired elements and drag to move, adjust size, etc.
- Added a QR code. Use the ‘Text | QR Code’ tab on the left.
Before:

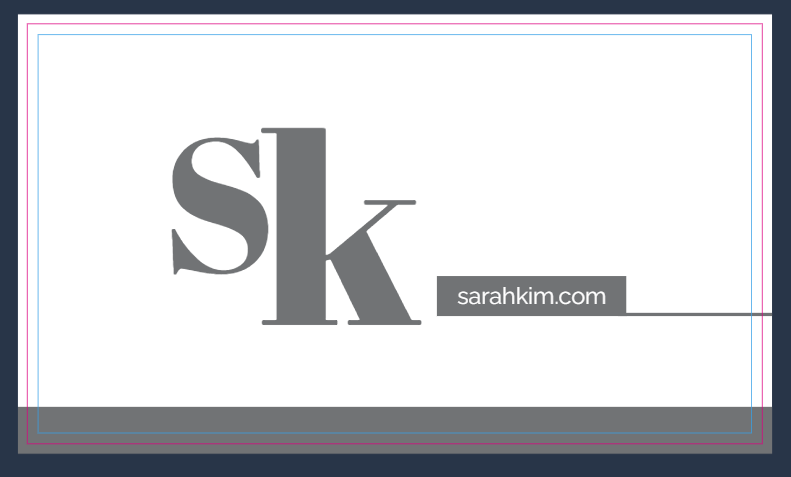
After:


If you’ve messed around with the template and realize you no longer like it, you can even select a different template with the ‘Templates’ tab on the right column.
Step 5: Proof-Read/Preview Your Work
Make sure all the text and elements you’ve included do not include any spelling or grammar errors, and that you’ve input all the right information. Check both the front and back. Make sure that if you did adjust anything, such as moving or adding text boxes, or adding design elements, they fall into the proper bleed, trim, and safe zones as indicated on the template. You don’t want important information such as text getting cut off, so it needs to fall within the blue safe zone, but a background, for example, can extend to the bleed zone (between the pink line/edge). You can check all your work by selecting the “Preview button” on the top right corner of the screen.
Step 6: Proceed to Order
Once you’re fully satisfied with your design, click the button ‘Proceed to Order’, found next to the preview button. You’ll be prompted to save your design by logging in to your account. If you don’t wish to save your design at that moment, you can press ‘Cancel’ and be sent to the order form. (Note: You cannot place an order without a GotPrint account, so if you don’t have one at this point, we suggest you create one instead of hitting ‘Cancel’ to skip the step at checkout.)
On the order form, select the remaining specs for your business card order, such as Paper Stock and Quantity. Then, review the instantly processed proofs and proceed to checkout.
There you have it! You can design and print your very own business cards in minutes, right on GotPrint.com. We hope this tutorial was simple and straightforward enough that you won’t have any issues throughout the process. If you do happen to come across a question, please reach out to our friendly customer service team.
If you print your business cards with us, snap a photo and share it with us on social media by tagging @GotPrint. We love seeing our customers’ prints in action!