Hang tags, also called swing tags, are a key marketing tool in the retail industry. Though many people don’t give them much thought, a hang tag attached to a product for sale conveys important information like pricing, sizes, and materials. But a custom hang tag does more than just share details. They showcase your branding in a way that differentiates your business from your competitors. This lets consumers recognize your brand just by looking at the hang tag.
With Black Friday and the holiday season fast approaching, you need to label your products with your distinct branding. There are plenty of ways to use the small but impactful space on custom hang tags. Some details you can include are your company logo, a brief brand bio/story, website, social media handles, care instructions, and a QR code. From standard hang tags to square hang tags to folded hang tags, you can find a size and shape that best displays your business details.
What Can You Use Hang Tags For?
Any physical product you plan to sell, whether it’s in a storefront or online, looks more professional with a custom-branded hang tag. Whenever you need to sell or gift a product, use the hang tag to share information.
Hang Tags are best for:
- Labels for Clothing (shirts, hats, sweatshirts, pants, dresses, etc.)
- Accessories
- Bottles/Jarred Goods
- Home Décor Items
- Party Favors/Gift Bags
How to Design Hang Tags

1. Find the Right Size
The standard hang tag size is 2×3. Other popular hang tag sizes include 2×2, 2×4.25, and 3×3. The swing tag size will determine how much information you can include in your design.
2. Stick to One Theme
When it comes to designing a hang tag, you’ll need to create something that stands out while still following your company’s brand guidelines. Use the same colors, fonts, and graphics that are on your website, social media accounts, and other print marketing products. Over time, your products will be easily recognized by just looking at the tag.
3. Make Your Logo Large
Your business branding should be the star of your custom tags. Use double-sided hang tags to place your logo and/or company name on one side and the product information on the other. Even if you’re selling products online, it’s a simple way to make all your products feel connected. It also improves brand awareness; even if someone does not buy your product, they might remember your logo.
4. Use Limited Text
Try not to add too much text to a hang tag. Even if you’re sharing your company’s story, it should be a concise, compelling version. You can also consolidate information by including the URL to your website so that customers may learn more about your brand without having to read it in small text.
5. Add a QR Code
QR codes are extremely easy to create and are beneficial for both the customer and the seller. You can track how many people actually scan your code while giving your potential customer access to further information, like your website and socials.
Add Information on Hang Tags
Since hang tags are small, you don’t want to crowd the space with too much detail or busy visuals. You can always use a QR code that links to your website, where you can go more in-depth. Whether you’re designing custom clothing labels, size labels for garments, or identifying product tags, you need to use the available space wisely.
1. Size (if applicable)
Though your product likely has a clothing tag with the size sewn into the fabric, it’s common to also include it on a hang tag. This makes it easier for customers to find the correct size when a clothing item is displayed on a rack or folded in a stack. A size tag isn’t limited to clothing. If you’re selling artwork, blankets, or furniture, you can use swing tags to share the product dimensions.
2. Price
A hang tag is a much cleaner way to share a product price than a price sticker, which can leave behind residue. This reduces any confusion on pricing and streamlines the checkout process. Add a bar code as well so that the cashier can scan the product.
3. Brand Info
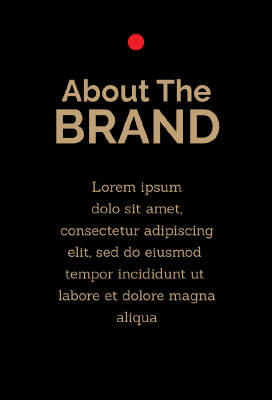
Highlight your small business branding by adding your company’s story, a quick bio, or a mission statement. These details add a more personal touch and give your product an edge that others may not have. We suggest using folded hang tags, which provide more space for print designs, text, and product information.
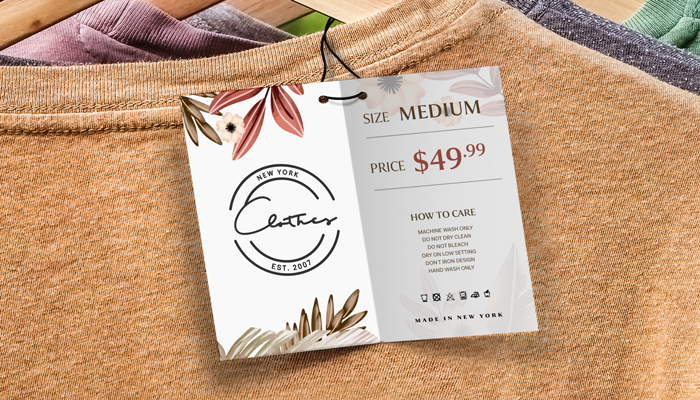
4. Care Instructions
Some products need more maintenance guidelines than others. If clothes are dry clean only or need to be washed in cold water, then a hang tag is an easy place to convey those instructions. Aside from fabrics, you can include storage instructions, like keeping the product in a room-temperature environment. For any product, a separate tag highlights the importance of caring for your high-quality products.
5. Discount or Coupon
Use a separate tag to offer customers a discount. For in-store products, this can communicate current sales and potential discounts on that product. For online products, this can provide customers with a code to save on their next purchase. And you can simply remove the tag if you change your mind about a promotion. If your intention is to indefinitely sell the product at a marked-down price, then you can print the discount offer on the main tag. Simply include a slash through the original price while indicating the new price next to it.
6. Pack Date/Expiration Date (if applicable)
For perishable items, you want to keep your customers safe. Language like “Packed on”, “Best by”, and “Fresh until” tells people how long their food is good for. Note: Make sure your food labeling adheres to legal requirements.
Free Templates
Browse our customizable hang tag templates to find a design that best markets your products.
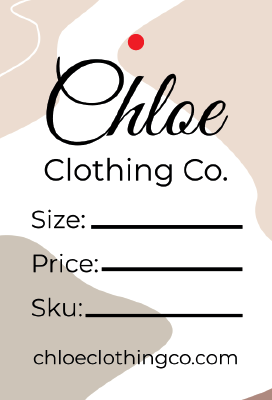
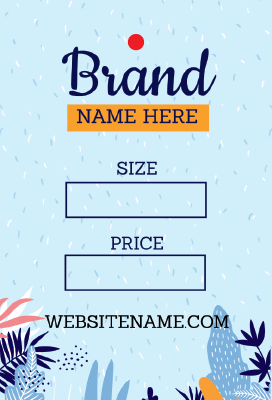
Neutral abstract designs on this product tag template provide a simple background for your product info. There’s space to add your brand name, product size, price, and website.
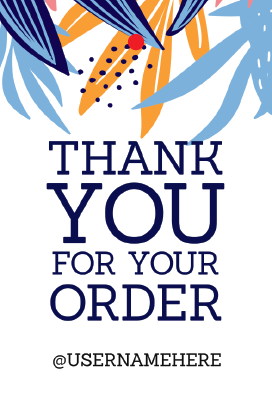
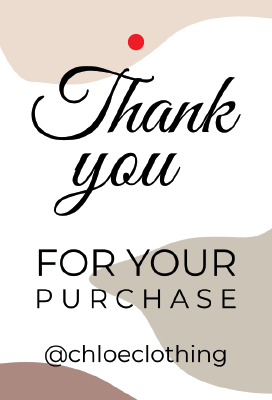
Bright colors and floral designs let you attach a trendy design to your products. On the back, there’s space for custom text or for you to thank customers for their purchase. Use this template as the basis for all your retail hang tags.
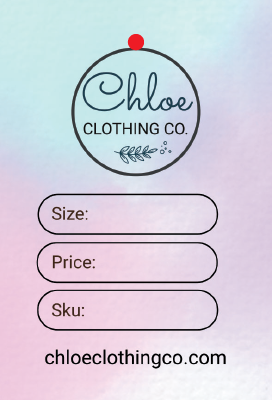
A pink and blue gradient lets your text stand out. Upload your logo and customize the text boxes to match your products.
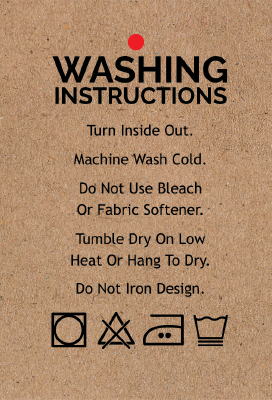
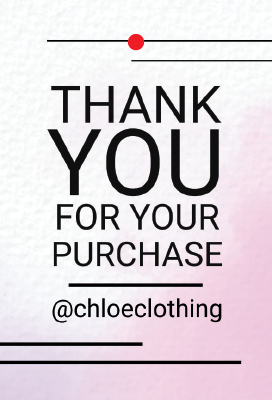
The textured background on this care instruction hang tag adds visual intrigue. List your washing instructions above the washing symbols. Or you can customize the text to better match the product.
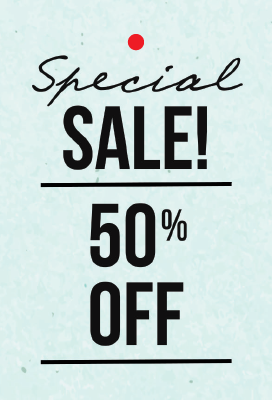

Available in blue, pink, and orange, this hang tag template lets you communicate discounts to customers. On one side, large text shares the discount. The other side has a floral design.
Need More Inspiration?
GotPrint’s hang tag printing is available with a variety of paper stocks, including our 14 pt. Glossy paper, 16 pt. Matte paper, and eco friendly 18 pt. Kraft paper. With your hang tags ready to be attached, make sure to check out our other small business marketing essentials, including thank you postcards and advertising posters.