Image quality and resolution are crucial components of the printing process. Using the correct DPI, which stands for dots per inch, is the first step to receiving precisely crafted prints. Any creative assets, from business logos to promotional photos to graphic designs, will need to be uploaded with the correct DPI resolution. This will affect whether your print quality is clear or blurry. Most print products require a minimum DPI of 350, but there are some exceptions. Signage that will be seen from far away can have a DPI as low as 150. Regardless of what you are ordering, using a precise DPI results in sharp images, smooth gradients, and rich colors.
GotPrint understands the printing process can be complicated, and we want you to be pleased with your prints. Once you have DPI explained simply, you’ll be able to prepare your print files and place your orders properly.
What Does DPI Stand For?
DPI stands for Dots Per Inch. This reflects how many dots of ink are used for one inch of the design. This is specifically related to printing ink dots, not digital screen pixels. How many dots per inch for printing each item will depend on the type of print product.
What is DPI?
Clear image resolution is a crucial element of the printing process. DPI is one component of file setup for print products that makes your designs look sharp. It doesn’t matter if you’re printing photos, business cards, t-shirts, or banners; the design file you upload needs to have the correct DPI. A higher DPI results in a dense, detailed print with intricate depth. Because it has more ink droplets printed closer together across one inch, the details in your design won’t be lost in the printing process. Clarity is also important, especially if you’re printing elaborate images or designs. A low DPI typically looks blurry because the file conveys less information to the printer.
How to Choose the Printing DPI
You can find the correct DPI for each GotPrint product under the File Setup tab on the order form. For almost all of our customizable print products, we require 350 DPI. This produces sharply defined prints. Generally, the viewing distance will determine the DPI. Items that will be seen nearby, like flyers or catalogs, require a higher DPI because any blurriness will be evident when reading. However, large signage can use a lower DPI. GotPrint’s signs, like banners and foam boards, have a minimum requirement of 150 DPI. This is because most signs are viewed from far away, so people won’t notice any change in quality. When designs are viewed from a distance, human eyes naturally fill in the details, even if those extra dots aren’t printed on the surface. This means your custom signs will still look professionally printed even with a lower image resolution.

What is the Standard Dots Per Inch for Printed Works?
For most print products, the standard DPI is 350. This high resolution produces sharp images, legible text, and deep colors.
How to Check DPI
You can check DPI by downloading the file to your device. On Windows, you can open File Explorer, right-click, and view the image properties. Click the “Details” tab, then browse information about the image file, including the DPI. On Mac, you can right-click the image, click “Preview,” go to “Tools,” and choose “Show Inspector.” Then select “General Info” at the top and browse the image information.
How to Change DPI
Changing DPI for a file will depend on what software you’re using. After all, each platform has different methods for editing the print file. Most design editing software programs will have their own, more specific tutorials for making these changes. Here are simple guides for the most popular editing software:
- Adobe Photoshop: Open your image, then go to “Image,” choose “Image Size,” and change the DPI resolution.
- Adobe Illustrator: Select “Raster Effects Settings” and choose a DPI resolution available in the drop-down menu.
- Canva: Select “Position” from the toolbar, click the “Advanced” menu, and type the pixel values (DPI) you need.
- Procreate: Open your image, go to “Actions,” then “Canvas,” then “Crop and Resize.” Type the required minimum DPI.
Does DPI Impact Colors?
Yes, DPI does impact how colors print. When there are more dots per inch in your prints, the details improve each color’s richness and depth. It assists with color accuracy. Including more dots lets you create a wider range of colors. Before uploading your design, you should make sure what color mode your design needs to be in: RGB or CMYK.
DPI For Different Products
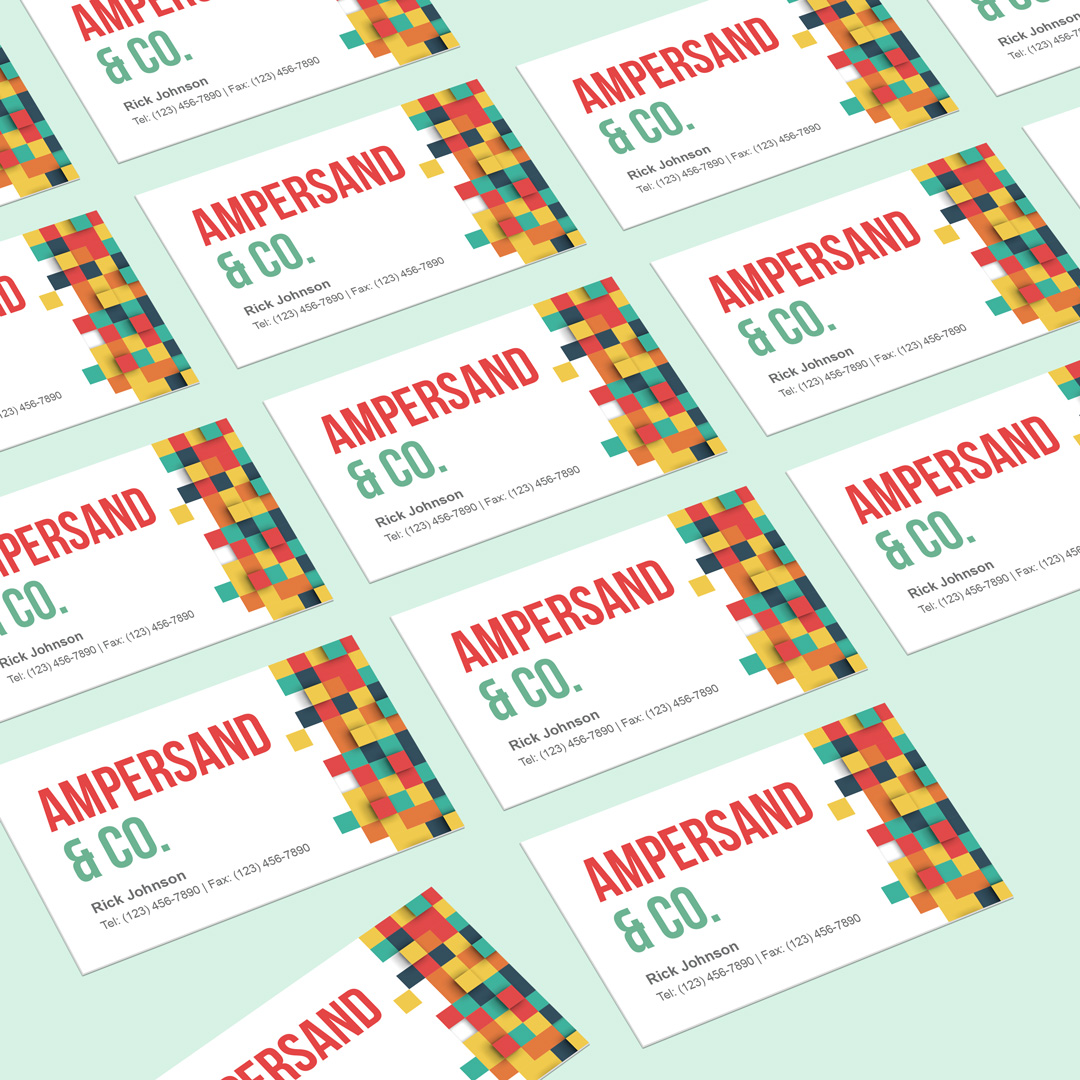
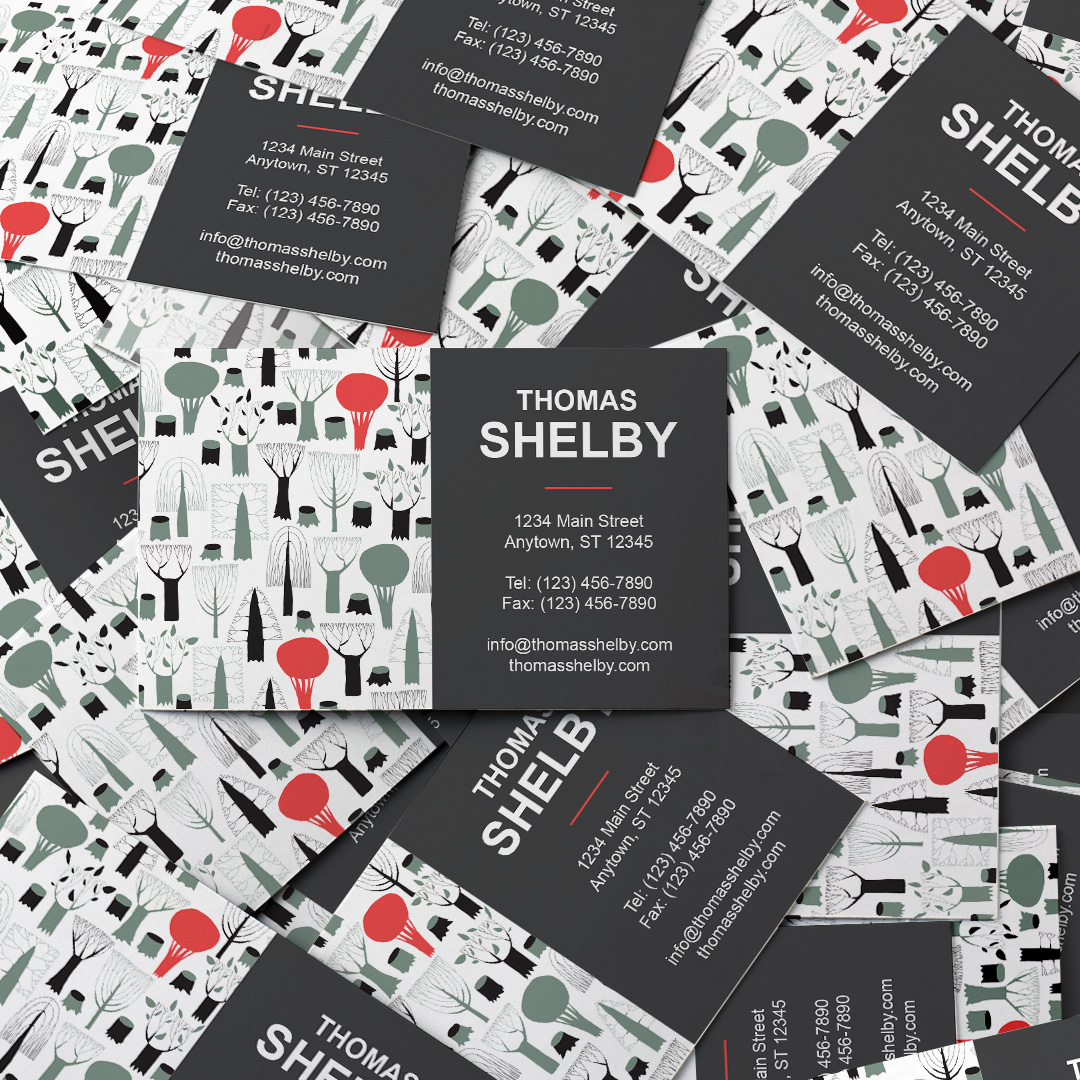
What is the Correct DPI for Business Cards?
The right DPI for business cards is 350. Since these prints are small and will be seen up close, it’s important that the intricate details are clear and the text is legible. Most marketing prints are at least 350 DPI.
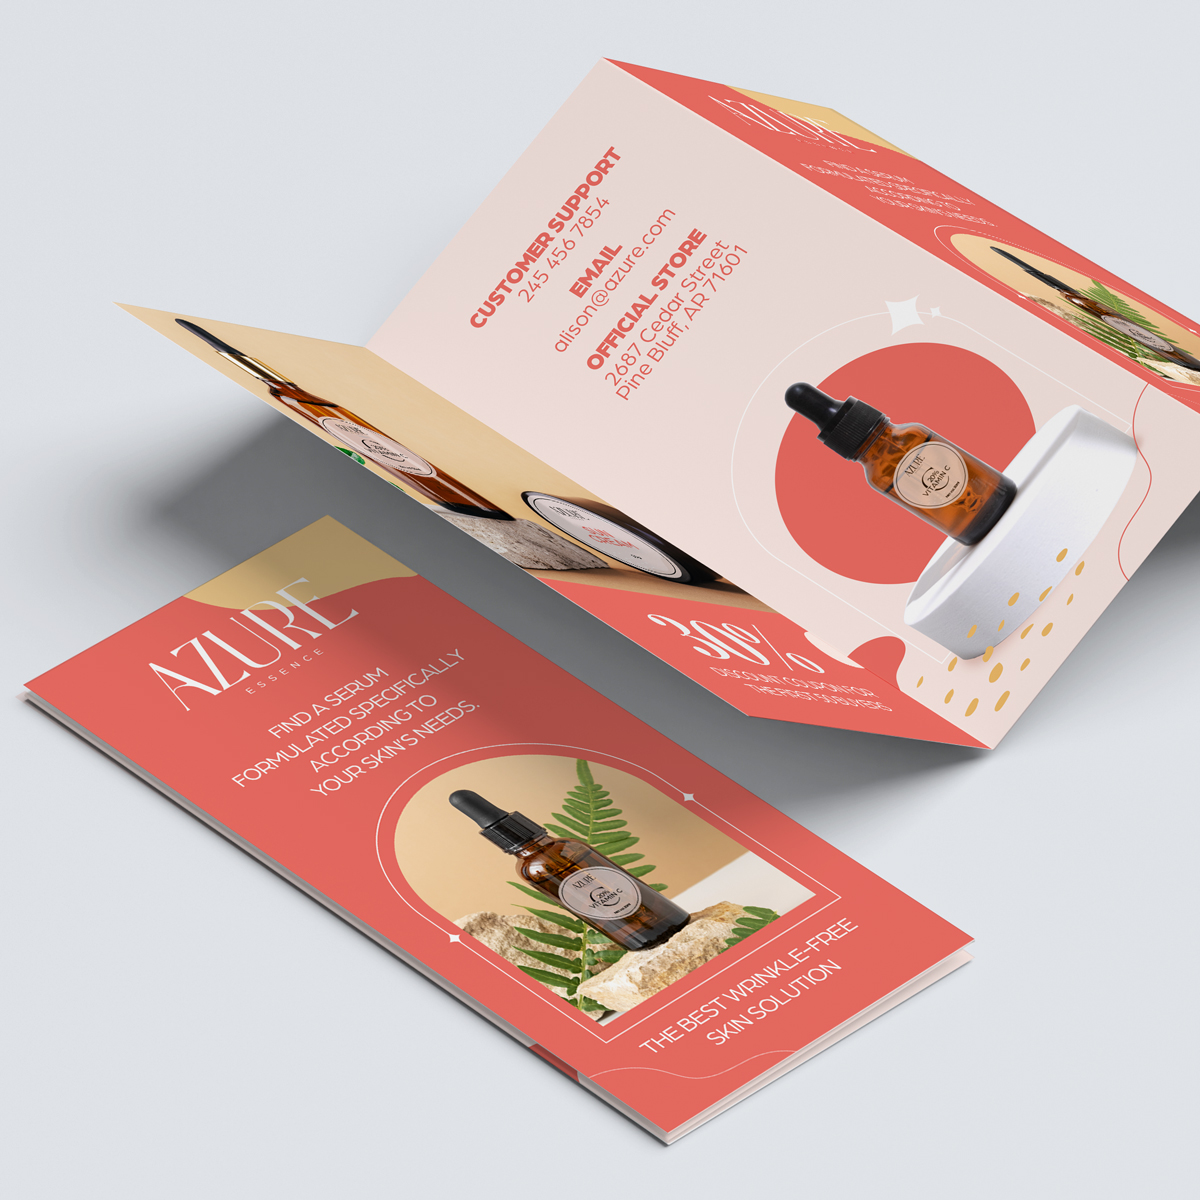
What is the Correct DPI for Brochures?
Your brochure file DPI should be at least 350 DPI. Since brochures are often text and image-heavy, these details need to be clear. A high DPI ensures each design element is distinct and readable.

What is the Correct DPI for Booklets and Catalogs?
Booklets and catalogs should have a 350 DPI. Product catalogs, menus, user manuals, magazines, and any other multi-page booklets made with glossy pages require a high image resolution. After all, you want any product images to look sharp, and the text must clearly stand out on the page. Make sure to use legible fonts and color palettes to help readers as they flip through the pages.

What is the Correct DPI for Signage?
The correct signage DPI is at least 150. This is because signs often feature simple designs that are seen from a distance: banners hung from the ceiling, posters displayed high on a wall, or aluminium signs placed on the side of a building. The DPI for banner printing is 150, since they are typically displayed well above eye-level. For signs that will be viewed up close, consider using a higher DPI. That ensures your trade show signs, event signs, and any other displays in smaller spaces look high-end.
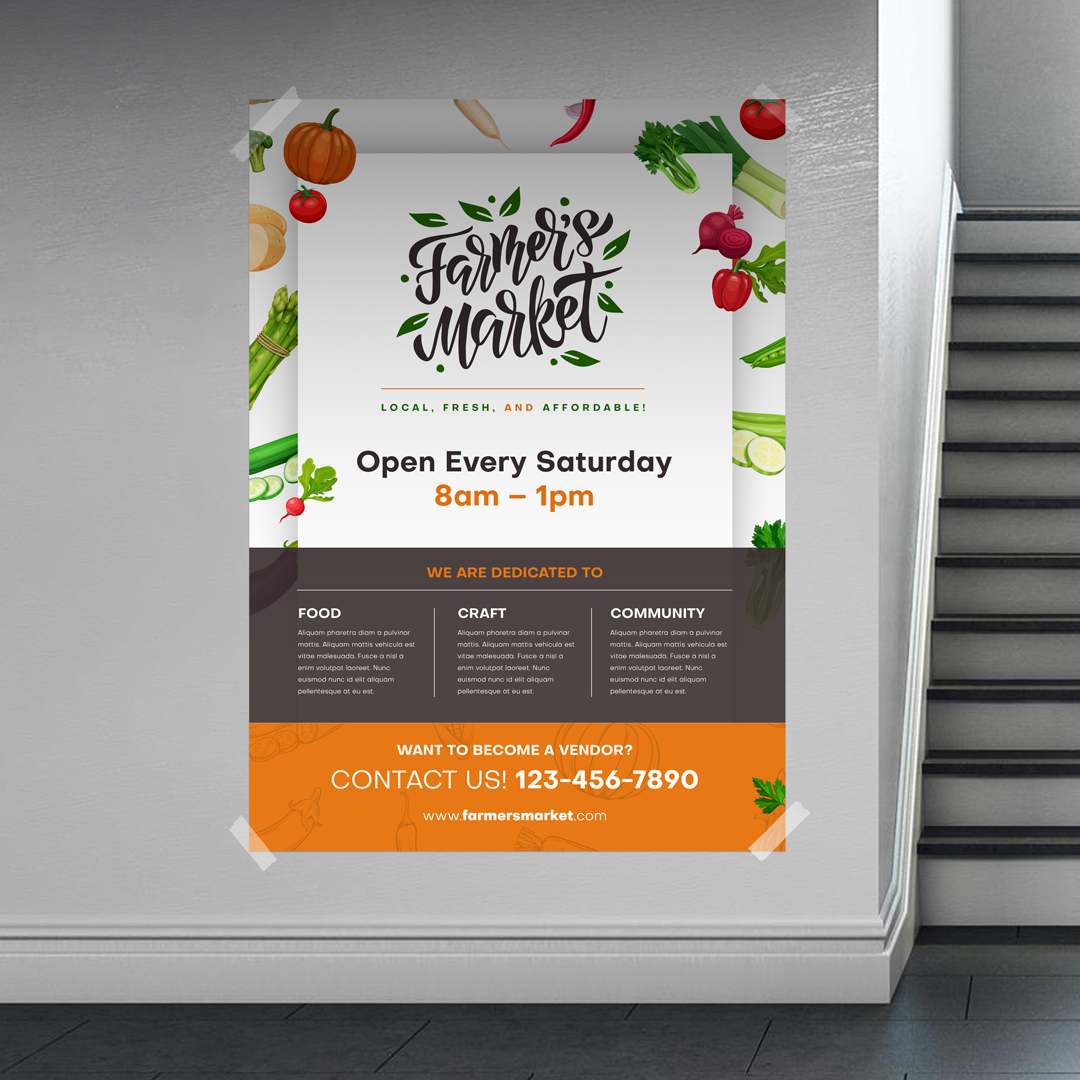
What is the Correct DPI for Posters?
The right DPI for printing posters is at least 150 DPI, especially if they will be seen from a distance. 150 DPI is also the best 24×36 poster resolution. If they will be seen from up close, consider increasing the DPI to 200-250.
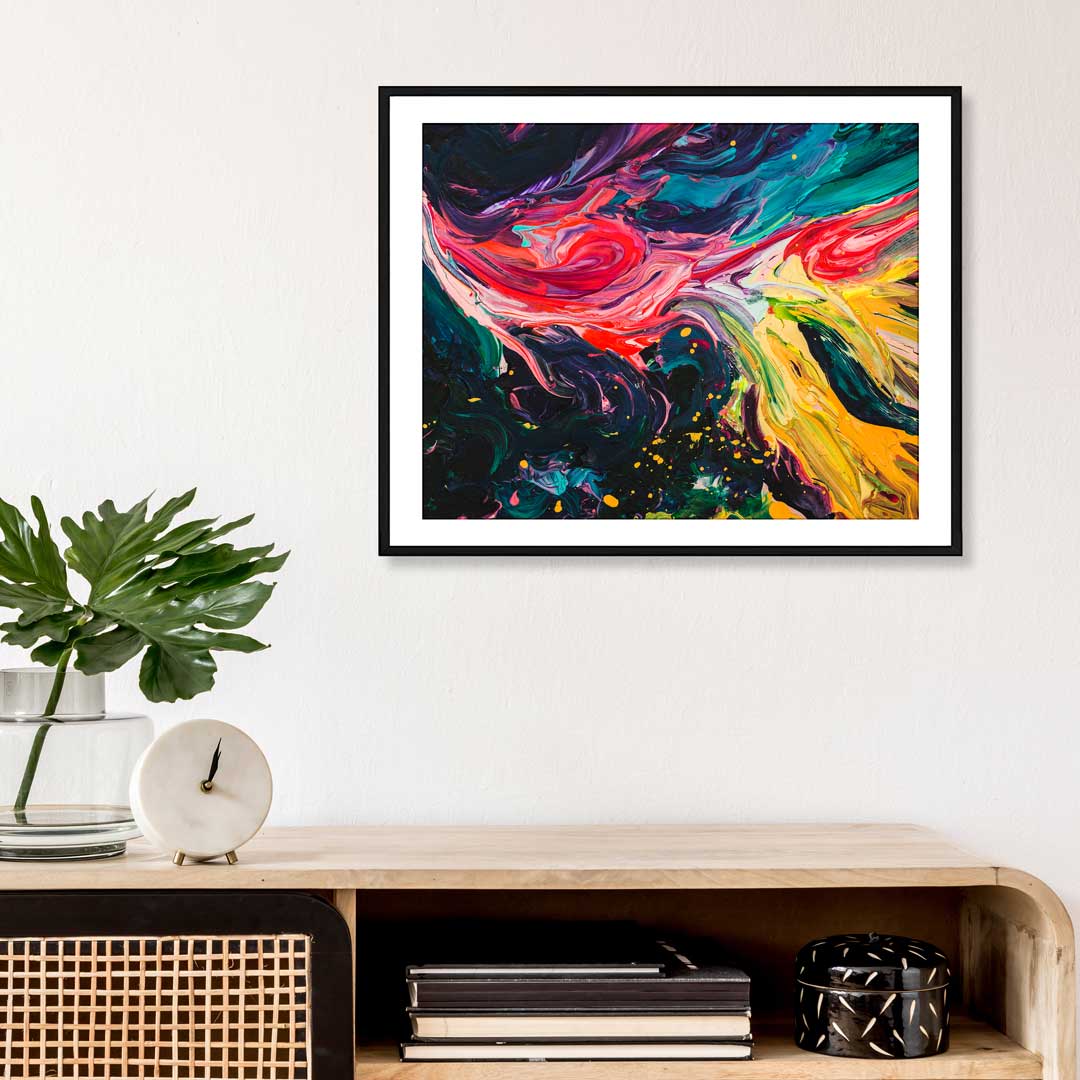
What is the Correct DPI for Photo Wall Art?
Photo wall art, including canvas prints, framed prints, mounted wall prints, and metal wall prints, should all have a 300 DPI. This ensures your printed images, like family photos, portraits, and pet photos, look nice hanging on your wall.
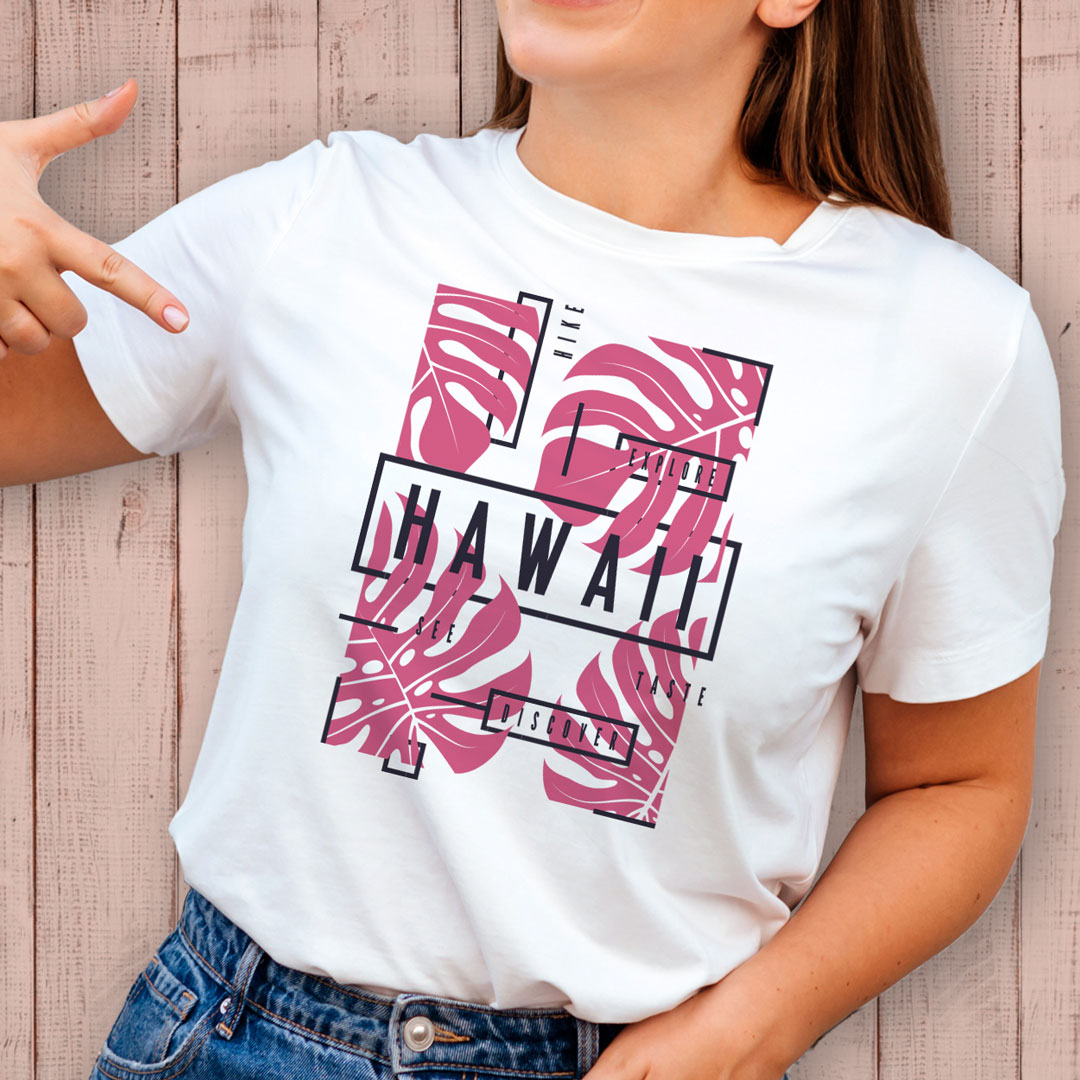
What is the Correct DPI for Custom Apparel?
350 DPI is the correct image resolution for custom printed apparel, including t-shirts, hoodies, and crewnecks.
Use the Right Print Resolution For Premium Prints
The quality of your print job begins with your print-ready files. You need to upload high-resolution files in the correct color mode to receive prints you’re proud to distribute, especially if they are marketing print products. After all, no one will trust a brand that passes out blurry flyers or unreadable brochures. People are more likely to trust a company or businessperson who invests in well-crafted prints. Using the right DPI for your print orders sets you up for success. If you want to make sure your files are ready to go, read GotPrint’s File Checklist to feel confident in what you’re uploading.