No matter what industry you’re in, everyone can benefit from professional prints. You could be working in the real estate industry, in public works, or even in the wedding industry, and in all three instances, you need printed materials for every project; advertising a listing, running a local campaign, and planning a client’s wedding. It’s really a no-brainer that printing is one of your tools for success. Even if you’re printing something that’s not business-related, you ideally want your prints to look as professional as can be.
Knowing how to print something as simple as business cards, for example, may seem complicated, especially when it comes to designing the files yourself. In reality, it’s a lot easier than you think. You just have to be aware of certain things and have the patience to learn concepts and apply them accordingly. In this post, we share with you helpful tips on how you can print your own professional-looking materials like business cards, postcards, invitations, flyers, and much more. In fact, these tips apply to almost every type of print you can think of. Soon you’ll be on your way to ordering and achieving the perfect prints.
1. Decide which platform you’ll use to create your design
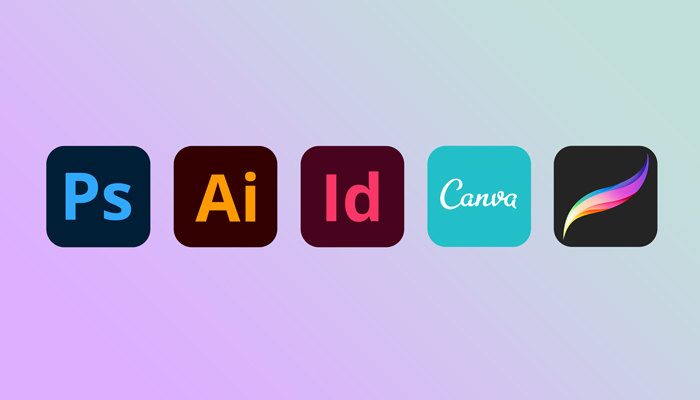
First things, first – you’ll want to explore your options when it comes to design platforms, some of the most notable ones being Adobe Photoshop, Illustrator, InDesign, and Canva. Your decision should be based on multiple factors, such as your personal design capabilities, the type of design you plan to create, and how much time and funds you have to accomplish your goal. There are a variety of platforms that consider all of these factors. For example, take Adobe Photoshop – it’s most used among the pros and has a lot of beneficial features for those that have knowledge of the application. The con of Photoshop is that it takes longer to learn, and it’s not free. Now, if you’re not an expert designer by any means, you really shouldn’t feel pressured to use an advanced application like Photoshop. For beginners, there are free and highly user-friendly platforms, like Canva.com, where you can design your own print files with ease. They even have pre-made templates that you can slightly modify & make your own.
2. Use a specific product’s template as a guide for accuracy
Templates are a solid form of reassurance for your prints. Every single one of our product sizes has downloadable print templates you can (and should) use when you’re designing and/or setting up your print files. The guidelines are extremely helpful when used as a temporary overlay on your design. With templates, you can see exactly where your prints will be trimmed, so that you can place all important elements in the designated area.
3. Design in CMYK color mode
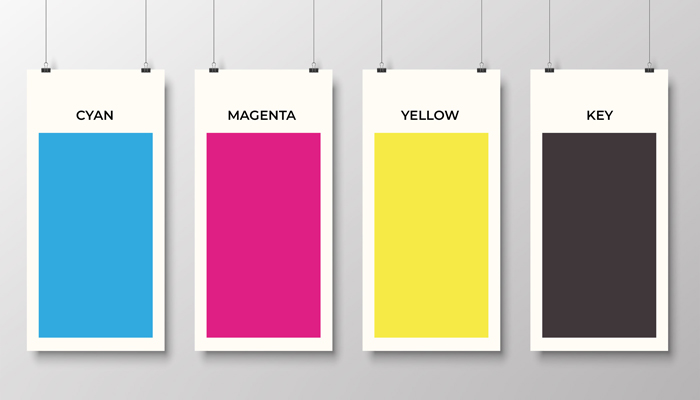
Most prints require a CMYK color mode for printing. Of course, if you design your files in RGB, our printer systems are intelligent enough to convert them for you. However, the outcome of your print colors will likely look different from what you’ve visualized on the screen. This is why it’s important that you convert your files beforehand, that way you can visualize a more accurate color palette for your final prints.
4. Refer to other prints for inspiration
If you’re stuck in a design rut, it’s always helpful to look at other ideas to gain some insight into how you’d want to convey your own vision. We’re not saying you should copy something piece by piece, but a decent amount of inspiration comes from ideas derived from other people’s work.
5. A high DPI is important
When it comes to online images and designs, 72 DPI is plenty – but printing is a whole different ballpark. You’ll need to make sure your prints are at least 300 DPI. What is DPI you may ask? DPI stands for Dots Per Inch, which is a measure of resolution. The larger the dot density is, the higher the resolution of your print will be.
6. If printing any images, only settle for high-resolution files
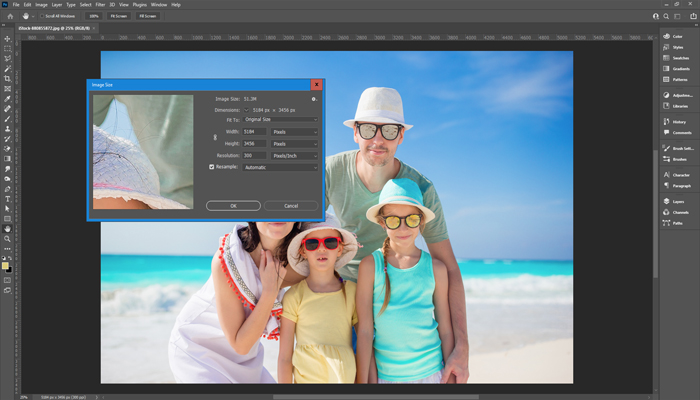
If it’s blurry on your screen, it’ll be even blurrier printed. Don’t settle for a low-quality photo, especially if your goal with printing is to highlight that element of your design. Having this knowledge will allow you to put more attention to the quality of the photo before you start designing your files.
7. Make sure elements are consistent throughout your design
We really can’t say this enough; consistency is key. When it comes to size, colors, thickness, etc. Everything about your design should be consistent. One discrepancy will be extremely visible in the final printed product.
8. Outline all your fonts
This step isn’t always necessary, but it’s always beneficial, especially if you are using a design platform with layering and complexity like Adobe Illustrator. Outlining your fonts means essentially turning text into an object, so when you send your files to print, there will be no issues with missing text. You’re probably wondering why that’s even a possibility, but you’d be surprised at how many empty files or missing words we’ve seen in post-production, all because the specific font that was used wasn’t properly read by the printer. Outlining all your text ensures that this won’t happen to you.
9. Run a test with your home printer
While you won’t necessarily see what your prints will look like in terms of color, printing on your home printer will allow you to see the proportions and layout of your file so that you can modify it accordingly. We can’t tell you how helpful it is when you’re designing something as important as a mailer or a wedding invitation, wanting to get all the components just right, and being able to make slight but significant changes after seeing your file printed via your home’s home laser or inkjet printer.
10. Choose your paper type wisely
Your paper selection has everything to do with your design. In some cases, the paper type of a print can make or break your design. If you’re unsure about what paper to select, the best thing to do is to see if your printer has samples they can share with you. We have a free sample kit you can order, which includes all of our most popular stocks and materials. This makes it incredibly convenient to narrow down which paper stock is right for your particular print project. You can compare the thickness, color, texture, finish, and other capabilities such as whether or not a given paper contains a writable surface.
11. Order Your Prints in Bulk
Ordering more means two things – more to pass around, and at less cost to you. Especially with prints that are meant to last you a long while, like business cards, we recommend ordering in bulk so that you’ll be set for a comfortable amount of time before you need to order again. It’s always good to have extra on hand, rather than run out because you thought what you ordered was enough.
For more on print tips and inspirations, check out our other blog posts:
7 Tips for Creating a Killer T-Shirt Design
How-To: Design Flyers for Advertisements, Events, & Beyond
6 Tips for Designing & Printing Stand-Out Storefront Signage